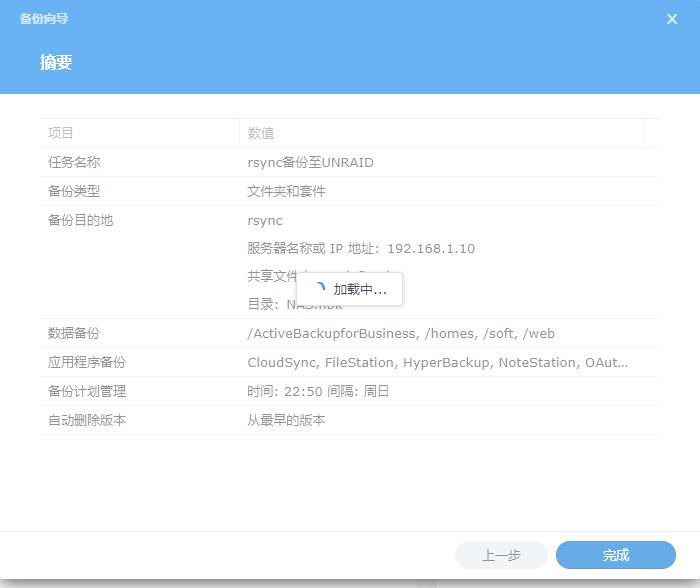
添加rsync服务脚本
通过应用商店中的Userscripts插件来新建一个开机运行脚本
粘贴以下内容在脚本中
#!/bin/bash

# 创建Rsync服务的配置文件
echo "
uid = nobody
gid = users
use chroot = yes
max connections = 8
timeout = 600
port = 873
pid file = /var/run/rsyncd.pid
log file = /var/log/rsync.log
lock file = /var/run/rsync.lock

[backups_synology]
    path = /mnt/disk3/backup/HyperBackup
    comment = HyperBackup
    read only = no
    list = yes
    auth users = user
    secrets file = /etc/rsyncd.secrets
    hosts allow = 192.168.1.0/24
    strict modes = yes
    ignore nonreadable = yes
    transfer logging = yes
    fake super = yes
" > /etc/rsyncd.conf

# 设置配置文件的权限
chmod 600 /etc/rsyncd.conf

# 创建密钥文件
echo "user:password" > /etc/rsyncd.secrets
chmod 600 /etc/rsyncd.secrets

# 检验rsync进程是否存在,并重新启动
RSYNC_PID=$(pidof rsync)
if [ -n "$RSYNC_PID" ]; then
    echo "Rsync服务已经运行,PID: $RSYNC_PID,准备重启服务应用新配置。"
    kill $RSYNC_PID
fi

# 启动rsync服务
rsync --daemon

# 检查rsync服务是否已成功启动
if ps aux | grep 'rsync --daemon' | grep -v grep; then
    echo "Rsync服务已成功启动。"
else
    echo "Rsync服务启动失败,请检查配置文件和日志。"
fi
rsync配置常用参数注释
如想修改看这
uid = nobody                  # 运行rsync进程的用户
gid = users                   # 运行rsync进程的组
max connections = 8          # 最多允许8个并发连接
path = /mnt/disk3/backup/HyperBackup          # 指定模块本地实际路径
comment = HyperBackup                         # 模块名称
read only = no                # yes:只读/no:允许读写
auth users = user                              # 允许认证的用户
hosts allow = 192.168.1.0/24                  # 允许的IP范围
echo "user:password" > /etc/rsyncd.secrets    # 设置上方认证的用户的账户密码
走个流程
启动rsync
UNRAID-设置-User Scripts-找到rsync脚本-点击Run Script
不放心就检查下看看是否已经正常启动
ps aux|grep rsync
root@Tower:/etc# ps aux|grep rsync
root     11589  0.0  0.0  10608  2676 ?        Ss   10:10   0:00 rsync --daemon
root     14585  0.0  0.0   4120  2176 pts/0    S+   10:11   0:00 grep rsync
如果没运行就手动启动下,一般不会这样吧?
rsync --daemon
群晖HyperBackup设置备份目的地
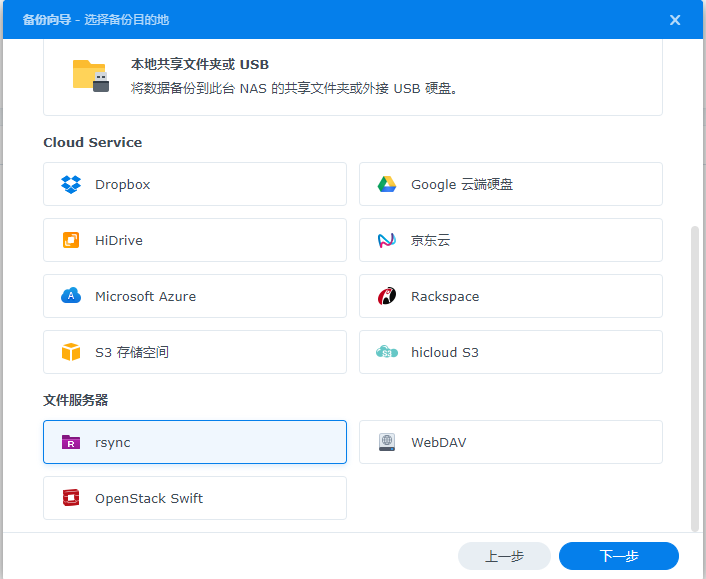
打开HyperBackup,在文件服务器中选择rsync
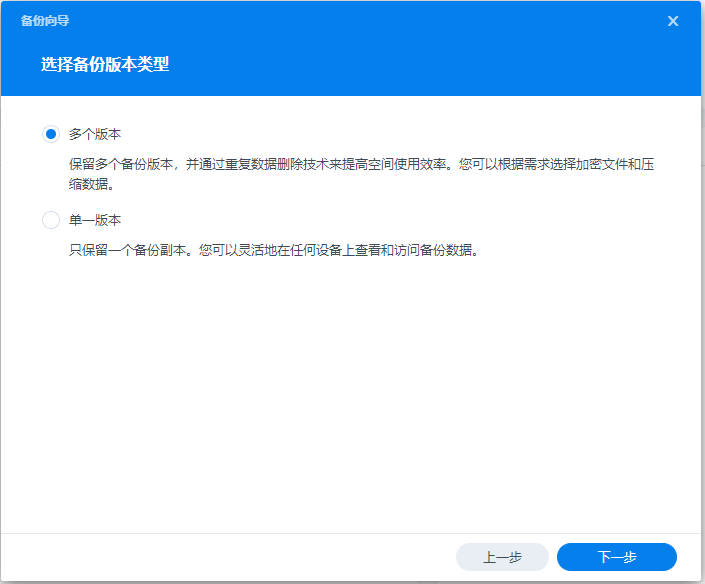
按需选择备份版本
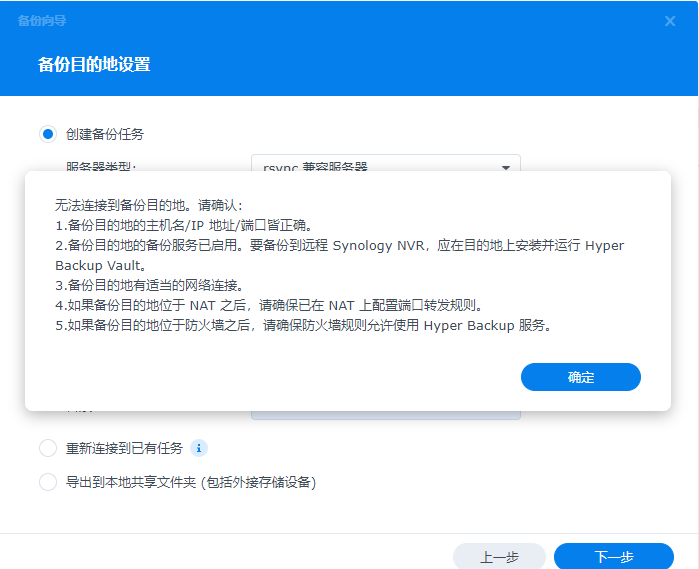
选兼容服务器,填入UNRAID的IP.脚本中用于验证的账户密码
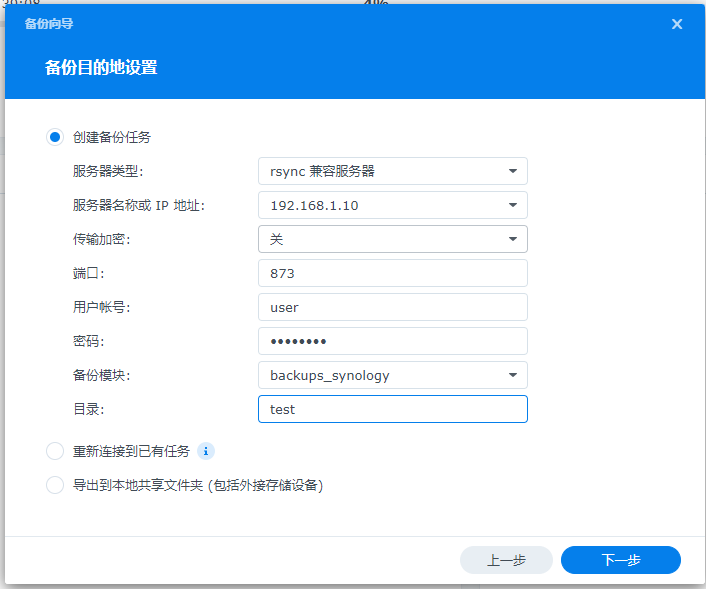
可能会遇见的报错请确认脚本中本地实际路径文件夹是否存在,如无新建文件夹后再重新添加
如我的实际路径是/mnt/disk3/backup/HyperBackup就需要保证HyperBackup文件夹已经创建
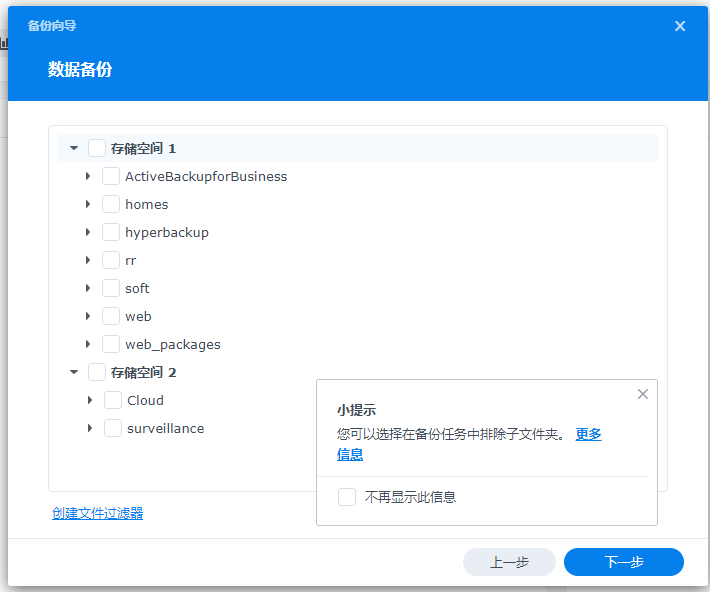
没问题后就勾选需要备份的数据源文件夹以及对应设置
完成后点击备份就可以体验了🤣
